04 ClickHouse Agents
Create a ClickHouse Agent over your taxi data and explore it conversationally at ai.clickhouse.cloud.
Starting point
You are on build-workshop-v1 — no checkout needed. Budget about 10 minutes. This
module is entirely in the ClickHouse Cloud console; there is nothing to run locally.
Prerequisites: modules 01 and 03 complete (seeded history plus a live CDC stream in your Cloud service).
Why
You have a rich dataset now. ClickHouse Agents let you ask questions of it in plain language and get grounded SQL and answers back — conversational BI without writing every query yourself. This is the fastest way to explore the data you just assembled.
Goal
A ClickHouse Agent created over your taxi tables that answers at least one non-trivial analytical question, showing the SQL it generated.
Step 1 — Open ClickHouse Agents
Two entry points, both using your existing ClickHouse Cloud identity:
- Console - your service -> ClickHouse agents -> Launch
- Or go directly to ai.clickhouse.cloud.
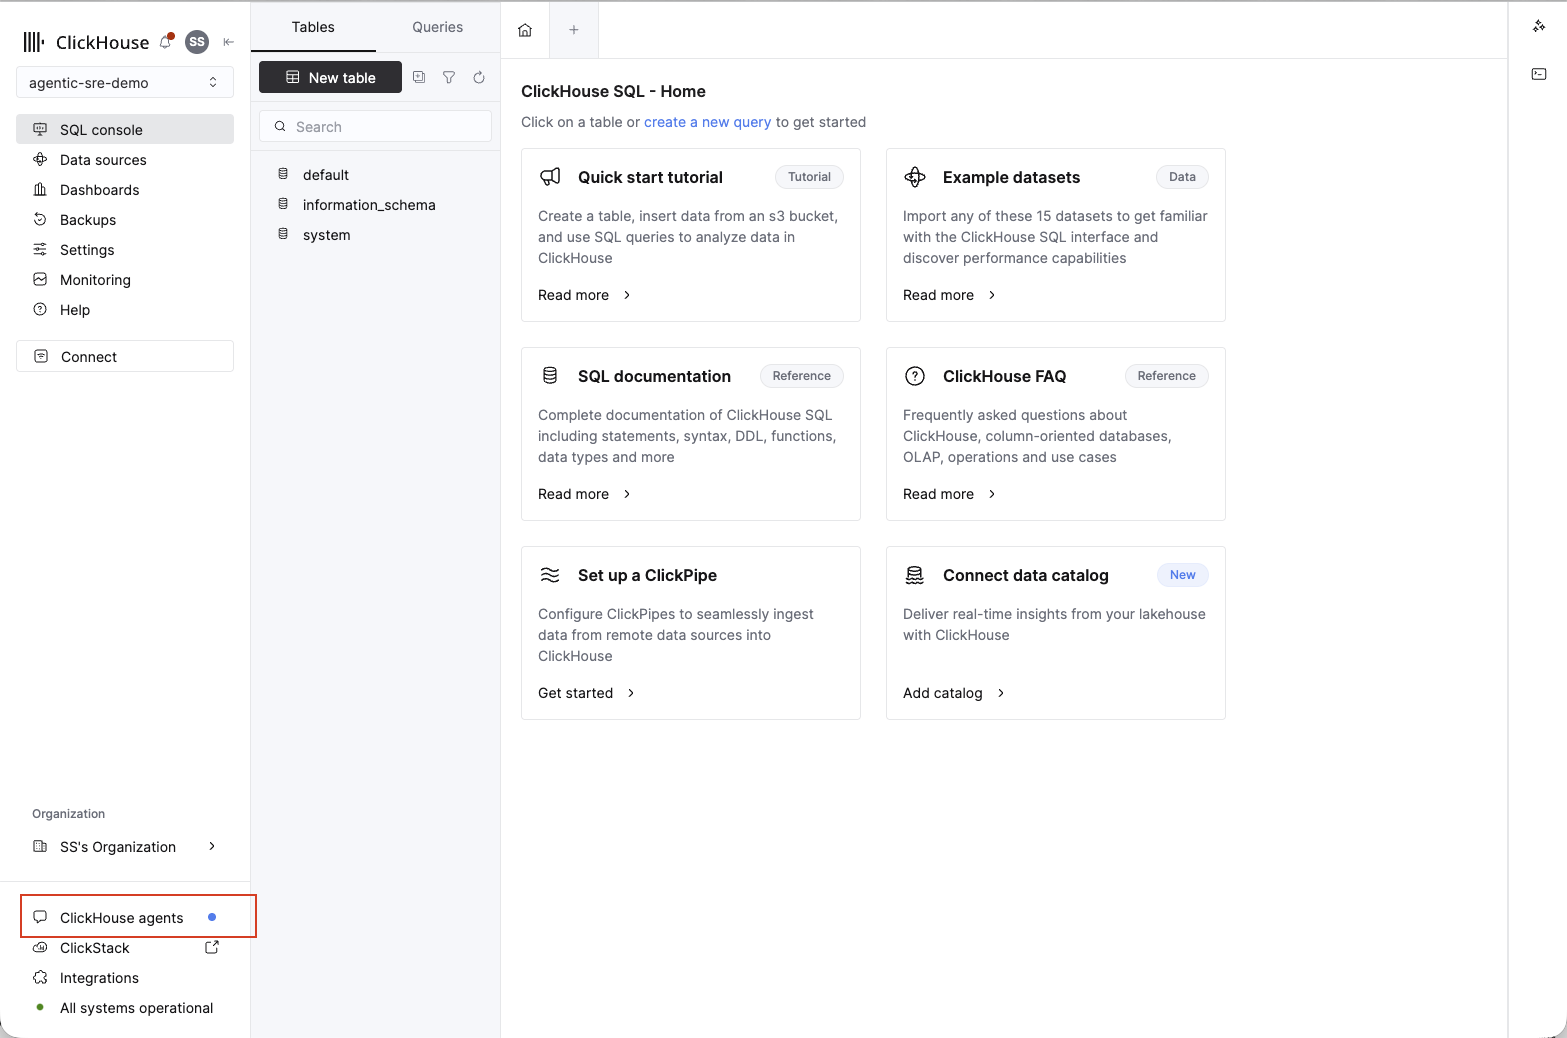
Find ClickHouse Agents in the left sidebar of the Cloud console (or go directly to ai.clickhouse.cloud).
Step 2 — Create an agent over your taxi data
Click Create New Agent, give it a Name, Instructions (for example: answer
questions about the NYC taxi data in nyc_tlc_data), and pick a Model.
Add a tool called ClickHouse and confirm it shows as Connected — this is what lets the agent introspect your schema and run SQL against your service. Without a connected ClickHouse tool the agent has nothing to query.
Then start chatting. The agent introspects your schema so its SQL is grounded.
Step 3 — Explore conversationally
Ask progressively harder questions and read the SQL it generates. For example:
Which pickup zones had the highest average fare from July 18–24, 2022, and how did that
change versus July 11–17, 2022?
Then ask your own question about the ride-hailing business — this is your open step.
You should see the agent return a written answer with the generated SQL shown alongside it, and its numbers should line up with what the Historical dashboard shows for the same period.
Step 4 — Cross-check through the ClickHouse MCP
Use the connection from Module 00 to verify one number independently:
Use the clickhouse-cloud MCP to run the generated SELECT as read-only SQL. Compare its
result with the ClickHouse Agent answer and report any difference.
The values should match. If they do not, compare filters and time ranges before accepting the natural-language answer.
How to verify you are done
- Your agent answers a question over the taxi data and shows the generated SQL.
- The ClickHouse MCP cross-check returns the same result.
Wrap-up
You have conversational access to the same data your app serves, backed by the history and the live stream you built. Next you turn attention from the data to the app's own health.
End state
You can explore your data in natural language. Continue to 05 ClickStack to start observing the app itself.